Sunday, April 26, 2015

Grey Smokey Eye & A Dark Vampy Lip

When my friend Kelli asked me to do her makeup for a birthday dinner, I immediately jumped at the chance. Besides the fact that she is already beautiful on the the outside, she is sensational on the inside. Thank you so much for letting me paint your face, boo!
 
Products Used:
NYX Shine Killer Primer
Maybelline Coverstick Corrector in Yellow
L'Oreal True Match Foundation W4 Natural Beige
NYX HD Photogenic Concealer in CW06 to highlight 
NYX HD Photogenic Concealer in CW08 for face contour
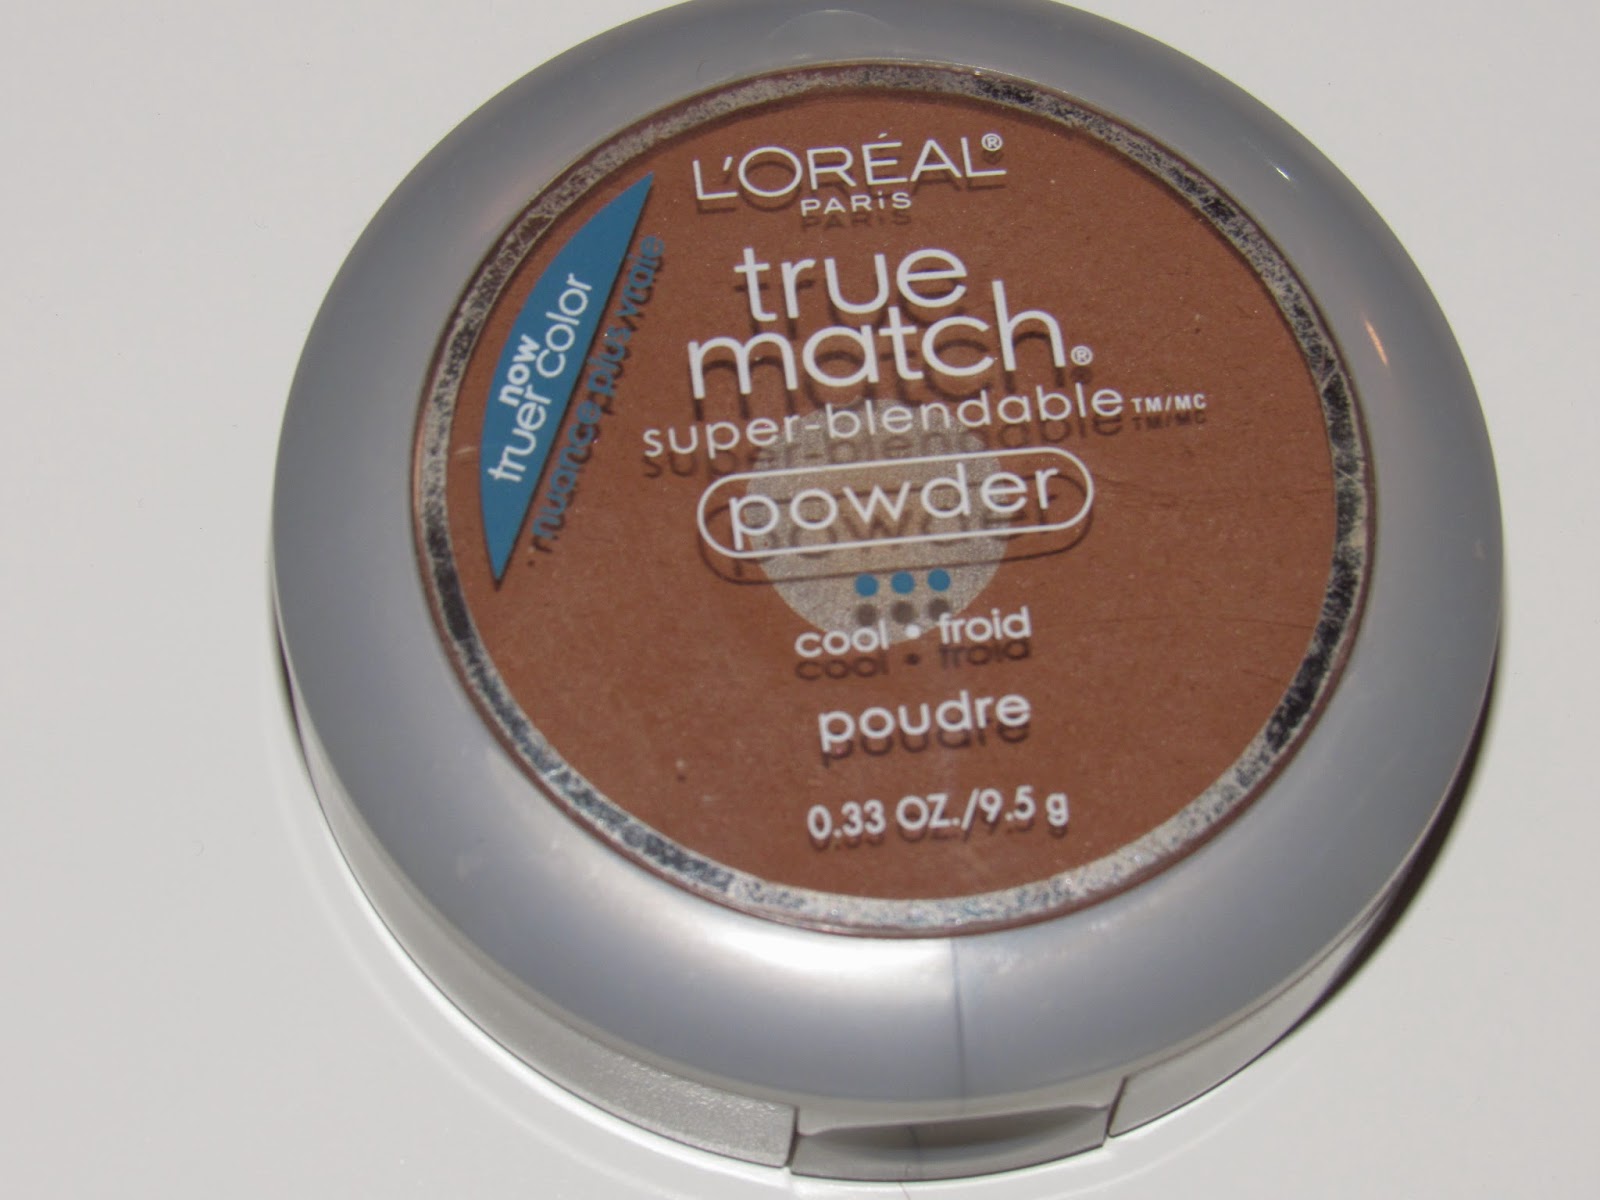
L'Oreal True Match Powder in C8 for nose contour
Rimmel London Stay Matte Pressed Powder to set everything
BH Cosmetics Professional Blush 10 Color Blush Palette
Ulta Brow Wax & Powder in Light
NYX Tinted Brow Mascara in Brunette
Urban Decay Eyeshadow Primer Potion in Original
Urban Decay Naked Palette in Naked all over lid as a transition color
NYX DCP01 Golden Horizons Shadow Palette- middle shade, bottom row in crease, outer V & packed/smudged along lower lash line
Urban Decay Naked 2 Palette in Pistol all over lid
Maybelline The Nudes Palette- first shade in top row as a inner corner & brow highlight
NYX Gel Liner in Jet Black for her wing
NYX Felt Tip Liner in Jet Black along lower lash line
Ardell Lashes in 105
L'Oreal Telescopic Mascara in Carbon Black
Jordana Lip Liner in Cabernet
MAC Lipstick in Rebel
Victoria's Secret Make It Last Prime & Set Makeup Spray
 Absolutely stunning! I am so happy with the way it turned out; but it helps when you have a good canvas! Kelli, you are going to kick butt in the Airforce & watch out Vegas!
As always, I love your comments & love, so please leave some below
& don't forget to subscribe to the blog and follow me on Instagram!
 

Wednesday, April 22, 2015

Product Review: Maybelline, NYX, & Essence

Hey Everyone! I'm back with a combination product review of a few things I've recently purchased. The 4 things I've been trying out for you guys are...

1. Maybelline Baby Skin Instant Pore Eraser Primer- Recommended

Claims: Minimizes appearance of pores & blurs imperfections for flawless looking skin

Pros:
- Blurs Pores
- Provides smooth application for foundation
-Absorbs quickly
-Cute packaging

Cons:
- None! I am absolutely loving it!


    2.Maybelline Fit Me! Matte & Poreless- Recommended

    Claims:
    -Mattifies & refines pores
    -Matches natural tone
    -Natural seamless finish

    Pros:
    -Blends flawlessly
    -Matte finish that lasts all day
    -Buildable coverage
    -Blurs pores
    -Affordable   

    Cons:
    -Packaging
    -Small range of color options
    -Quick to dry on skin, must work fast

    3. NYX High Voltage Lipsticks- Recommended

    Claims:
    -Creamy
    -Shiny 
    -Extremely pigmented
    -Easy to apply

    Pros:
    -Extremely creamy
    -High shine finish
    -Pigmentation is unreal
    -Affordable
    -Colors range from brights to nudes
    -Slim packaging
    -Very long wearing
                           Shade shown above is Twisted          

    Cons:
    - Brighter shades require a lip liner to keep from bleeding


    4. Essence Long Lasting Lipsticks- Recommended

     Claims:
    -Intense color for several hours without drying out your lips

    Pros:
    -Creamy & non-drying
    -Long wearing
    -Pigmentation
    -Affordable
    -Shiny finish
    -Packaging

    Cons:
    -Brand is not sold everywhere & colors are select in stores

             Shade shown above is Coral Calling


    Here are a few pictures over the last few days of me wearing these products!
     
    Lips: Essence in Coral Calling
    Lips above & below: NYX High Voltage in Twisted
    (Can you tell that I only can raise my left eyebrow?!) 

    Thank you all so much for checking out my blog! I used a different format than what I'm used to so let me know if you like this format better down below!
    If you guys have anything you'd like to see, let me know!
    I love your comments & suggestions!

    Saturday, April 18, 2015

    Mini Ulta Haul


    Saturdays mean shopping at Ulta!!!!! So I had 2 coupons expiring today, both were $5 off $15 or more. PLUS, Ulta was having 40% of Maybelline products, so I had to pick up a few of them. Total I spent $22, which is crazy to me considering what I bought! So if you want to see what I picked up then just keep reading!!

    The first thing I bought was the Maybelline Baby Skin Instant Pore Eraser Primer. Now I know that I'm definitely late to the party on this one, but generally I'm not a huge fan of primers, personally I've just never had the dire use for one, but lately I've been dabbling in some drugstore ones. Plus I picked this one up for less than $3! I have it under my foundation right now & I am loving it!


    Speaking of foundation, I FINALLY was able to pick up my shade of the Maybelline Fit me! Matte + Poreless Foundation, but every time I went to Ulta, CVS, Target, etc. either my shade or the entire line was sold out. But I finally picked it up in the shade 128 warm nude. If you want to see how I applied to, check out my previous blog post!


    Keeping along with face products, I also picked up another one of the HD photogenic concealers by NYX. These are my holy grails for highlight & contouring! I bought the shade CW07 Tan.


    Now onto lip products! I have been searching for a lilac-y shade of purple, something very bright & pastel & I finally found it! I picked up one of the Maybelline Moisture Lipsticks in 725 Lilac Flush. I also am so pumped to wear the new NYX High Voltage Lipsticks!! They are so unbelievably pigmented!! They are going to be perfect for summer, I cant wait to wear them with a tan!


    From Left to Right:

    NYX High Voltage in Twisted
    NYX High Voltage in Beam
    Maybelline Moisture in Lilac Flush


    So that's what I picked up today, hope you guys enjoyed!

    As always thank you guys for checking out my blog!

    Please leave any comments/suggestions/love down below.

    Please subscribe & follow me on Instagram!!!

    Thursday, April 16, 2015

    How To: Make Your Drugstore Foundation Last 14 Hours!

    Hello Beautifuls! So we all go through phases with our skin. Some days are makeup is ON POINT all day long, others it looks like we've rolled our face in a bag of Doritos by 2 pm, some days are matte, some days turn out as if dewey wasn't even an option. This week, I just could not stay matte to save my life. So I started playing around with different application methods, seeing if I could find a way to make my foundation last all day with minimal touch-ups. Here is what I found worked for me!

    What you'll need :
    1. Neutrogena Shine Control Primer
    2. L'Oreal True Match Foundation in W4 (use the
        shade that matches your neck)
    3. Rimmel London Stay Matte Pressed Powder
    4. Real Techniques Miracle Complexion Sponge
    5. E.L.F. Foundation Brush

    Steps: Applied at 7:30 A.M.
    1. You want to start by prepping your face with your primer, concentrating it on your most oily areas. For most people this is the T-zone, which include your forehead, nose, chin, & areas circling your mouth. Make sure the entire area is covered and the primer is well absorbed.
    2. Next, pour the foundation onto the back of your hand. It's always a good idea to pour too little instead of too much. Then, take your foundation brush and begin painting the product all over face & down your neck. Don't worry if it seems like to much product , the beauty blender will absorb the excess.
    3. Now take your damp beauty blender and using the flat angled side, begin to pounce the foundation into your skin. Pouncing it will ensure the most even & flawless coverage. Whatever you do, don't drag!
    4. Here is where I like to apply my highlight & contour since I use liquid for both, but if you like to use powders, skip to step 5. 
    This step really isn't contingent on making your foundation last, but I figured I'd show you where/how I apply it anyway! I use a small stippling brush by E.L.F. to blend out my contour along my forehead & my cheekbones. I apply my concealer under my eyes in a triangle, down the bridge of my nose, on my cupids bow, on my chin, and in the middle of my forehead. Using my ring finger, I tap all of this out then go back to the beauty blender and pounce it into my skin using the pointy side.

     Here is a halfway shot!


    5. You want to set everything ASAP! Again, you want to tap the setting powder onto your skin to help ensure nothing budges. I like to use the E.L.F small blush brush for this. Now you can choose to use a setting spray if you'd like. I usually will do this if I know I'm going to be outside.

    Time now : 9 P.M.!!! So today I only had to blot my T-zone twice. I also forget my setting powder at home so I didn't even have the option to powder. These pictures do not have a filter and the only light was the flash on the camera!


    Thank you all again for checking out my blog!
    Please leave any suggestions, comments, love below!
    Don't forget to subscribe & follow me on Instagram!!

    Saturday, April 11, 2015

    Rose Smokey Eye

    Here's another quick look I did on Easter!

    First, I primped my eye lid with whatever concealer I had on hand. I then began sweeping Limit from the Naked 3 palette all over my lid and into my crease with a big fluffy brush. Then took Nooner from that same palette and began buffing into my crease, really concentrating that color on the outer half of my eye. (I took these product pictures without flash because the flash was drowning out the colors and you could see the true colors better without a high flash.)


    I then began packing Buzz onto my lid, pretty heavily. Even though these are light colors, I do suggest applying them before your foundation to avoid fighting fallout from the more shimmery shades. I also applied a very thin line of liquid liner, just enough to help blend my false lashes. Grrrrr....the flash was making Buzz completely disappear on my lid!
    I used Strange from the same palette as an inner corner highlight & applied Ardell lashes in 105. I tight lined my lower lash line with Nooner and smoked it out with a pencil brush. Then applied 2 coats of L'Oreal telescopic mascara on my bottom lash. I thought I had a picture of this but I'm not sure what happened to it! But this is what I came up with minus the last final steps! Sorry babes!
    As always, thank you guys so much for reading this! Please leave any comments/suggestins/ideas love down below & don't forget to subscribe!
    Talk to you guys soon!


    Caribbean Sunset

    Hello Ladies! Thanks for checking back! I am SO sorry I've been MIA, I've had so much going on personally; this week was crazy! Last weekend I found this Avon Quad called Caribbean Sunset in the back of my drawer that I forgot I had, so I was pumped to use it again. This look continues spring's trend of a colorful smoked out lower lash line. So if you want to see the look I created, please keep reading!

    I started by buffing Naked & Buck from the Naked Palette into my crease with a big fluffy brush until I achieved the desired transition shades. (Ooouu girl, get your brows together!!) Don't worry I went and got a wax today!


    I then took a pencil brush and started blending the dark brown shimmery shade from the quad into the outer "v" of my eye. I then took a flat shader brush and began packing on the orange coppery color all over my lid, continuing to pack the color until I achieved the intensity I wanted. Occasionally taking a fluffy brush and blending them both together in my crease with the Naked shade from the beginning.
              
    The Andrea lashes in 133 are pretty dramatic so I wanted to add an intense winged liner to match. I used NYX gel liner in black and also cut the lashes to fit my eye.
    Lastly, I took a flat definer brush and packed the turquoise shade tightly along my lower lash line extending it straight out instead of following my lash line. Then I buffed it out with a clean pencil brush, packing on more product with the definer brush as needed and repeating the process. Lastly I took a white shade and placed it in my tear duct between the orange shade and the turquoise shade and also as a brow bone highlight. As always, brows are Anastasia Beverly Hills brow pomade in Chocolate.

    So this is the final result! Sorry the picture is a little blurry, the light was horrendous by the time I was done. I love the way it came out and it definitely reminded me of a sunset! As always, comments are welcome & don't forget to subscribe!!

    Monday, April 6, 2015

    Pink & Purple Smokey Eye

    Hello my lovelys!! So before we get into tonight's posts I just want to disclose that I had EVERY intention of taking waaayyyy more pictures during this blog so I could really capture every step-by-step in detail.

    But you see what had happened was....I get to see this girl like once every 4-6 weeks, so there was quite a bit of red wine involved, that can sometimes make me forgetful! I did my best to describe in words what I did, but please feel free to ask me any questions in the comments section below! Let's get started....

    My model for this was my beautiful soul of a friend, Emma. She is completely bare face, except for tape on the outside corners of her eyes. I always like to start with the eyes when I am using darker colors so I don't have to fight fallout afterward. The tape also keeps darker colors more precise.
    I started using the shades Naked & Buck from the Naked palette as transition colors, concentrating in her crease & Strange from the Naked 3 palette as a brow bone highlight.  I then used this dark purple shade from this Avon Quad to build color in her outer "V". This quad is years old, so any dark shimmer purple will do here.  I then packed Buzz from the Naked 3 palette all over her lid, concentrating on the inner corner and middle part of her lid. From the same palette, I used Blackheart on top of the Avon Quad, blending it into the crease and into the middle part of her lid. I also used this color to smoke out her lower lash line as well. I gave her a simple winged eye liner using NYX Gel liner in Black. I applied Ardell Wispies with L'Oreal telescopic mascara to finish off her eyes & filled in her brows with the brow trio by Ulta in the shade Medium.
    Moving onto face, I applied L'Oreal True Match in the shade N5 where I wanted to contour and the shade W4 in the areas where I wanted to highlight. She just came back from Costa Rica, so she was extremely tan! Let's try not to hate her!! To set the contour on her cheekbones and forehead I used L'Oreal True Match powered in the shade C8 cocoa. To set her highlight I used the top middle shade in the BH Cosmetics 6 Color Contour & Blush palette. From the same palette, I used the bottom right blush color on the apples of her cheeks and back to the top of her ears.
     

    To finish off the look, I lined her lips with Essence lip liner in Satin Mauve & NYX soft matte lip cream in Milan.

    This is the finished product! Again I am so sorry for the lack of pictures in the post you guys, but check back later this week; I've got 2 more looks planned for you guys! As always, please leave comments/suggestions/love in the comment box below & don't forget to subscribe!!! Muah!